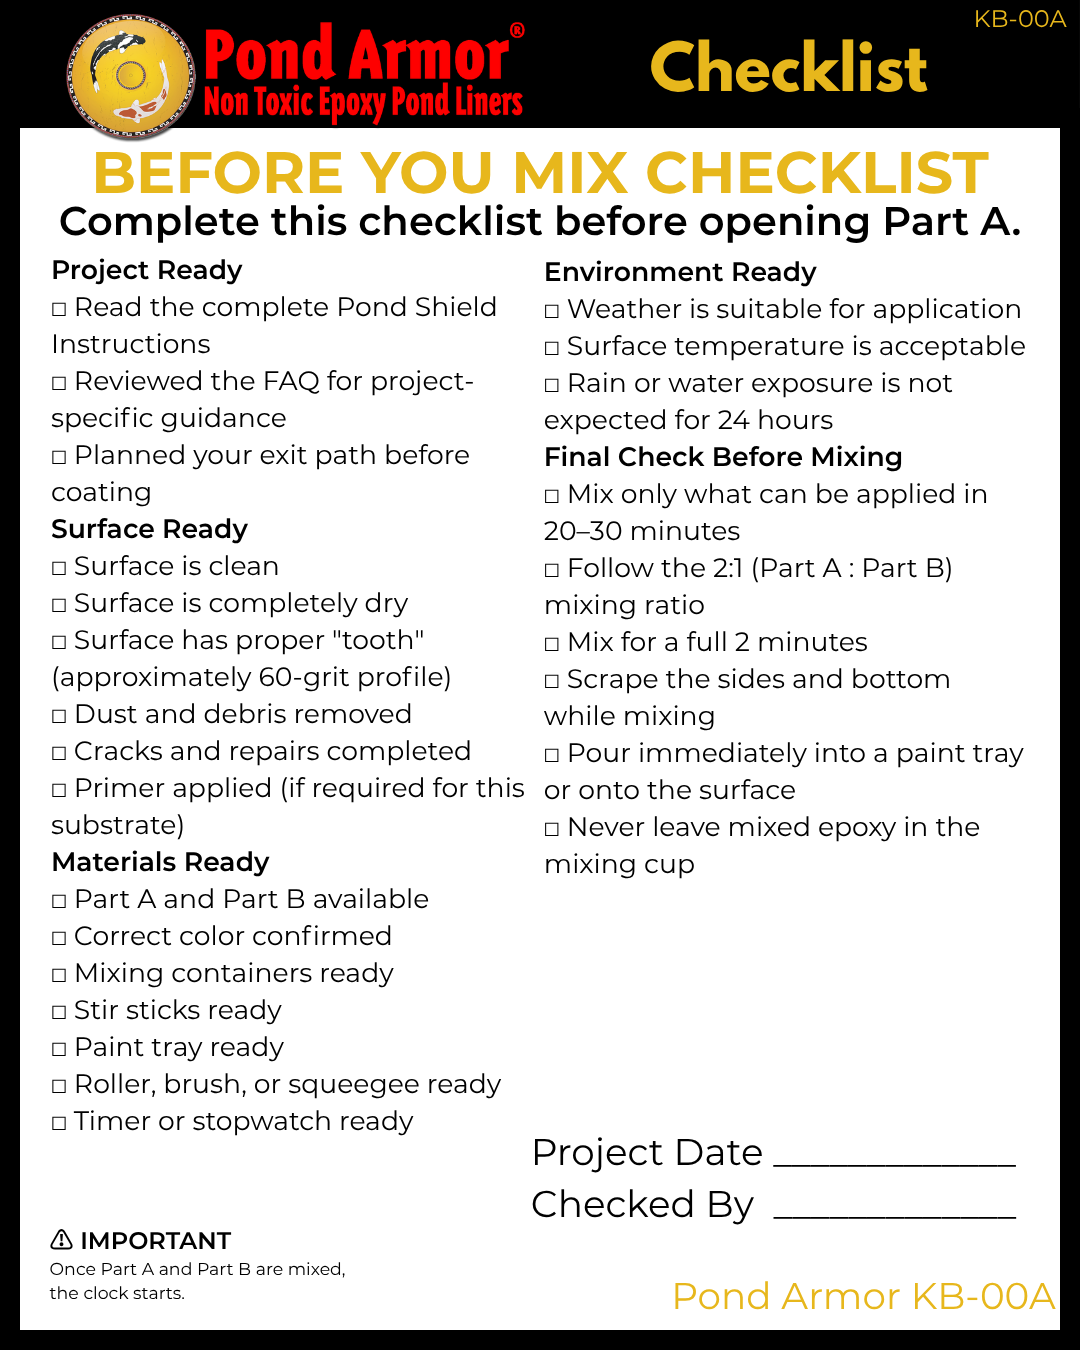
Complete This Checklist Before Opening Part A
Once Part A and Part B are combined, your working time begins immediately.
Taking a few minutes to confirm that your project, surface, tools, and work
area are ready can help prevent rushed decisions, wasted material, and
avoidable application problems.
Use the KB-00A Before You Mix Checklist as your final review before opening
or combining any Pond Shield components. This checklist supports the complete
Pond Shield Instructions and should not be used as a replacement for them.
Confirm Your Project Is Ready
Before mixing Pond Shield, make sure you have read the complete instructions,
reviewed the Frequently Asked Questions, watched the available application
videos, and planned the order in which you will coat the project.
Plan your exit path before beginning. Walls and other vertical surfaces are
commonly coated before the floor or horizontal areas so you can work your way
out of the project without stepping on freshly applied coating.
Confirm the Surface Is Ready
The surface should be clean, completely dry, structurally sound, and free of
dust, oil, wax, loose material, and other contaminants. It must also have the
proper surface profile, or “tooth,” required for adhesion.
Complete all crack repairs and apply any required primer before mixing. Refer
to KB-02: Surface Preparation
for additional guidance on preparing concrete, fiberglass, metal, PVC, wood,
and other substrates.
Stage Your Tools and Materials
Gather everything you will need before the working time begins. Your tools may
include measuring cups, mixing containers, stir sticks, a drill-mounted mixing
wand, paint trays, rollers, brushes, a squeegee, and the wet film thickness
gauge.
Confirm that you have enough Pond Shield for the project and that the correct
color and components are available. Keep the paint tray and application tools
close to the mixing area so the coating can be poured out and spread
immediately after mixing.
Review the Application Conditions
Plan to apply Pond Shield during the coolest practical part of the day, such
as early morning or late afternoon. Make sure the surface remains dry and
protected from unexpected water exposure while the coating cures.
Temperature, humidity, surface type, tools, and installer experience can all
affect working time. Begin with a small batch until you understand how the
coating behaves under your project conditions.
Complete the Final Mixing Check
Pond Shield uses a ratio of two parts Part A to one part Part B. Measure
accurately, mix thoroughly, scrape the sides and bottom of the container, and
only mix what you can apply within approximately 20–30 minutes.
After mixing, immediately pour the coating into a large, flat paint tray or
directly onto the prepared project surface. Never leave mixed Pond Shield in
the mixing cup because it can cure rapidly and become extremely hot.
Important: Once Part A and Part B are combined, the working
time begins immediately. Complete this checklist before opening Part A.
Continue Through the Pond Shield Knowledge Base
Review the next guides before beginning your Pond Shield application: