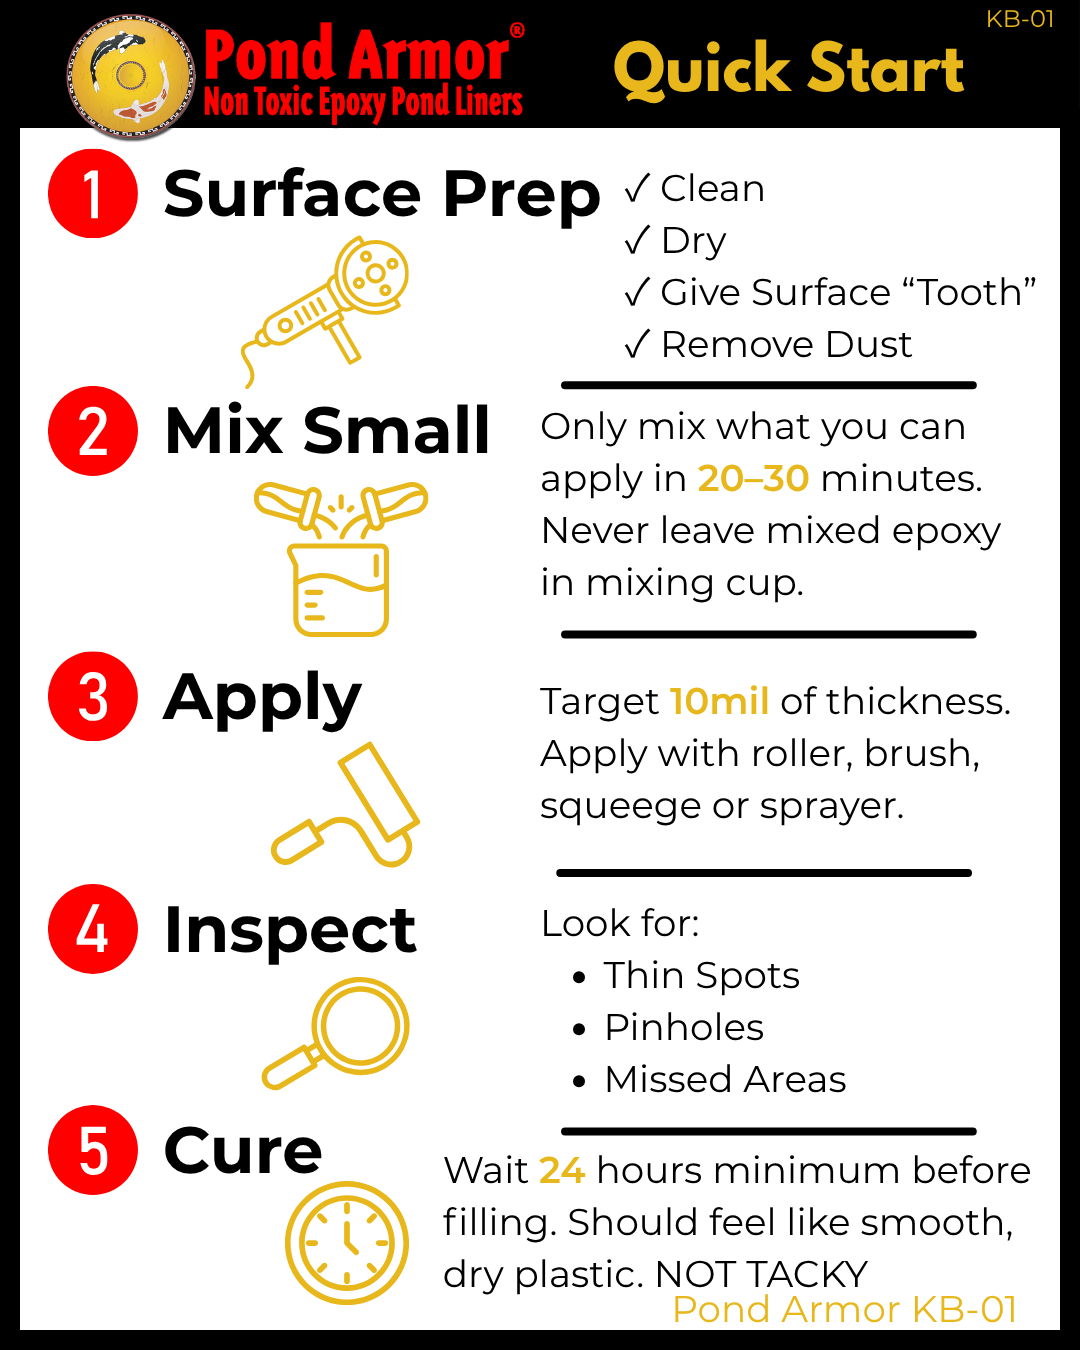
Review the Complete Instructions Before Starting
KB-01 provides a quick overview of the Pond Shield application process, from
surface preparation through final curing. Use this page as a convenient
reference while planning your project, but do not use it as a replacement for
the complete Pond Shield Instructions.
Before opening or mixing the coating, read the complete instructions, review
the Frequently Asked Questions, watch the available application videos, and
make sure your tools and work area are ready. You can also review
KB-00: Before You Begin
and
KB-00A: Before You Mix Checklist
before starting.
Step 1 — Prepare the Surface
A successful Pond Shield application begins with proper surface preparation.
The surface must be clean, completely dry, structurally sound, and free of
dust, oil, wax, loose material, and other contaminants that could interfere
with adhesion.
The prepared surface must also have the proper amount of texture, commonly
called “tooth.” The target surface profile should generally feel similar to
60-grit sandpaper. A surface that is too smooth may not
provide enough mechanical grip, while an excessively rough surface can require
more coating to achieve even coverage.
The correct preparation method depends on the substrate. Concrete, block,
brick, rock, and stone may require Pond Armor Surface Prep. Properly prepared
metal may require a self-etching primer. Cracks should be repaired with the
appropriate repair products before coating, and rough or porous surfaces may
require additional preparation.
See
KB-02: Surface Preparation
for more detailed guidance.
Step 2 — Mix Small Batches
Pond Shield uses a mixing ratio of two parts Part A to one part
Part B. Measure the components accurately and begin with a small
batch until you understand how quickly the coating can be applied under your
project conditions.
Only mix the amount of Pond Shield that can be applied within approximately
20–30 minutes. Temperature, humidity, surface type, tools,
and installer experience can all affect working time.
Mix thoroughly for approximately two minutes. Scrape the sides and bottom of
the mixing container, then fold that material back into the mixture. If
alcohol is used, follow the mixing order provided in the complete instructions.
After mixing, immediately pour the coating into a large, flat paint tray or
directly onto the prepared project surface. Never leave mixed Pond Shield in
the mixing cup because it can cure rapidly and become extremely hot.
Review
and
KB-03A: Mixing Safety
before combining Part A and Part B.
Step 3 — Apply an Even Coat
Pond Shield may be applied with a roller, brush, squeegee, or suitable spray
equipment. Smaller cloth rollers are useful for many projects, while a
quality brush can help coat corners, edges, details, and other areas that are
difficult to reach with a roller.
Spread the coating evenly and work steadily while the material remains
workable. The finished wet coating should appear smooth and uniform with an
even satin finish. Avoid dry or patchy areas, visible bare
substrate, heavy ridges, runs, and puddles.
Do not stretch the coating too far in an attempt to increase coverage. The
coating must be applied at the required thickness to provide the performance
for which it was designed.
See
KB-04: Application Techniques
for additional application guidance.
Step 4 — Verify the Wet Film Thickness
Pond Shield should be applied at a minimum wet film thickness of
10 mils, or 0.010 inch. As a quick visual comparison,
10 mils is approximately the thickness of three sheets of standard copy paper.
Use the included wet film thickness gauge whenever possible. Appearance alone
is not always enough to confirm the correct thickness. A coating applied too
thin will not perform as intended.
Additional thickness may be applied when needed, but thicker builds are best
achieved through multiple coats rather than one excessively heavy coat.
See
KB-05: Wet Film Thickness
for information about measuring the coating.
Step 5 — Inspect Every Square Foot
Inspect the entire coated surface before adding water. Use good lighting and
work methodically rather than trying to inspect the whole project at once.
Move left to right, top to bottom, and examine approximately one square foot
at a time.
Look for thin spots, pinholes, missed areas, bare substrate, runs, puddles,
air bubbles, and other irregularities. Pay particular attention to corners,
edges, penetrations, repairs, and transitions between horizontal and vertical
surfaces.
Any defects should be corrected before the project is filled. See
KB-06: Inspection
For touch up and repairs please see
Allow the Coating to Cure
Allow Pond Shield to cure for at least 24 hours before use.
Cure time may be affected by environmental and project conditions, so protect
the coated surface from water, contamination, and unnecessary contact during
the curing period.
When applying multiple coats, the instructions recommend applying additional
coats within approximately 1–10 hours whenever possible.
After 10 hours, the previous coat must be sanded before another coat is
applied.
Important: KB-01 is a quick-reference overview. Read the
complete Pond Shield Instructions before mixing or applying the coating.
Continue Through the Pond Shield Knowledge Base
Use the next Knowledge Base guide for detailed surface preparation
instructions, or return to the main Knowledge Base to browse all currently
available guides.